
- 0207 193 8029
- info@1entertainment.co.uk
How To Create The Perfect Wedding Seating Plan
By Ross | 1 Entertainment on Aug 15 2020
back to blog list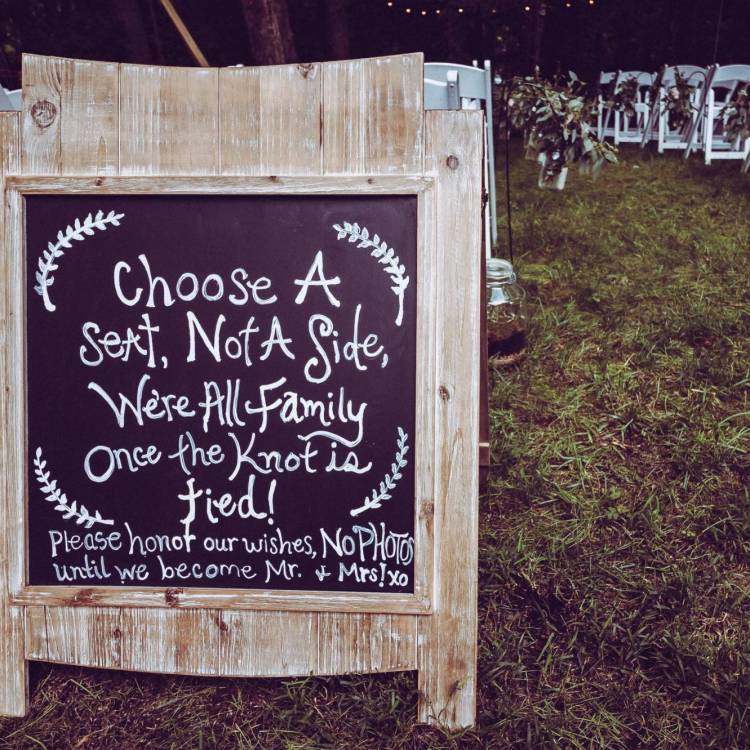
Although having assigned seating at your wedding is optional, there are several benefits gained by doing so. For starters, having assigned seats means your guests won’t need to panic as they try to
You can also seat guests so they are be surrounded by people get along with, which helps to ensure that everyone has a great time at your wedding. Friends can be next to each other, kids can be next to kids, and so on.
Unfortunately, many people find organising a seating plan to be a surprisingly difficult task because it involves a lot of decisions. In this guide, we are going to share a simple process for creating a seating arrangement that keeps your guests happy and ensures the success of your wedding.
Creating The Perfect Wedding Seating Plan
1. Define Seating “Requirements”
Start by answering the following questions relating to your seating arrangement. The answers you provide will be the “ground rules” for your seating plan and will help you proceed through the remaining steps:
• How many people will be attending?
• Will the bride sit to the right of the groom? (the traditional approach)
• Will the each partner’s family sit on their side of the room for the ceremony/reception?
• Will the bride and groom’s parents sit together during the reception?
• Does the bridal party need to sit together?
• Will the bride and groom have their own “sweetheart” table so they can eat by themselves?
2. Get The Floor Plan Of Your venue
Next, ask the wedding venue for a layout of the ceremony and/or reception space. Ideally, these diagrams should include the dimensions of the space along with the location of ammenities like bathrooms, stages, kitchen doors, electrical outlets and so on. If they don’t have floor plans available, visit the venue with a measuring tape and measure the space yourself.
3. Mark Out Essential Areas
Once you have a printed layout, mark any “essential” wedding or reception areas. This includes areas assigned to essential items food tables, the wedding cake, the DJ booth, the bar area and so on. Alternately, you could use a wedding planning app like AllSeated, Wedding Mapper, Table Planner, or WeddingWireto keep track of the available space.
4. Decide On The Table Size And Shape
Next, decide what types of tables you will use in the venue and how many will be used. You may be restricted by the types of tables that the venue offers. However, if your budget allows it you might be able to hire different types for tables for your big day.
Smaller tables provide more flexibility when it comes to seating guests. You can arrange them in more ways and seat small groups of friends or family members together. Small tables can make the event feel more intimate because it is easier to have conversations over a small table.
Larger tables make the most of the available venue space. It’s easier to create a logical table layout with large tables, which focuses guest’s attention on a central part of the room. The only downside is that it can make the event feel less intimate.
5. Calculate The Number Of Tables
Once you have identified the ideal table type, decide how many you will need. At this stage, it’s really just a rough estimate and may change as you seat your guests. Place the tables on your printed layout or within your app.
When placing tables, remember to leave sufficient space for wheelchair access if any attendees are disabled. You should also remember to leave sufficient room for social distancing if COVID-19 restrictions are still in place.
6. Begin Placing Guests At Tables
Finally, we can begin seating guests at their tables. Start but placing the bridal party at their table. They should be situated in a central part of the room, where they can easily be seen by guests at the other tables.
Remember that you have the option of moving the bridal party around during the event. So, you can have them at a large central table for important parts of the event, then let them drift off to other tables with friends and family later on.
Next, seat your VIPs. They include the parents of the married couple, close friends, the officiant, and important relatives. The VIPs should have seats that are close to the bride and groom, but you may also wish to place them somewhere with a clear view of a stage or easy access to venue ammenities.
After the VIPs, you can seat the rest of the guests. It’s often a good idea to segment other guests according to your relationship with them. Segments might include distant relatives, work colleagues, friends from social clubs, and old school buddies.
Seat each segment at their own table, as they will probably know each other or be more likely to get along. You may also wish to segment people based on their age, with a kid’s table or a table for older relatives. Avoid creating a table of single people, as it can be awkward!
If you are unsure about how to seat some friends and family, ask them if they have a preference about where they sit.
7. Think About The Party
Another important consideration to keep in mind is how much each group likes to party. It’s often a good idea to seat younger people so they are in close proximity to the dance floor and the bar. They will be up on the dance floor before you know it, encouraging the rest of your guests to start partying.
We hope you found this article useful. If you require any help planning your big day, contact 1 Entertainmenton 0207 193 8029. We are the UK’s number one event entertainment and event planning company. Our experienced team will help you organise the wedding of your dreams.